Uploading Data via Email Attachments
How to Set Up an Inbox to Automatically Process Email Attachments in super.AI
Initial Setup
To set up an inbox:
- Open any project and navigate to Project Settings > General Settings > Email Inbox.
- Click Create Inbox.

This will generate a unique email address for your application. You can send emails with attachments to this address, and they will appear as jobs in the work queue.
Inbox Verification
To verify the inbox:
- Click the Send Verification Request button.
- Wait a few seconds, as the setup may take some time. If the inbox doesn’t appear verified immediately, wait and try again.
Once verified, you can start sending emails to the generated email address. Any valid attachments will be processed automatically.
Accepted Attachments
Currently supported file types:
- PDFs (maximum 100 pages)
- Images (PNG, JPEG, JPG)
File Sizes:
- Minimum File Size: 500KB
- Maximum File Size: 100MB
Confirmation Message
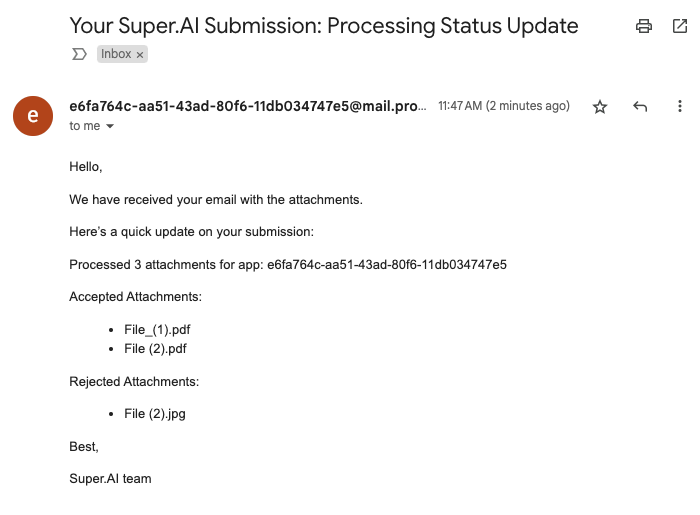
Every email sent to the system receives an automatic confirmation message, which includes:
- The number of attachments received.
- A summary of accepted and rejected attachments.
Here’s an example confirmation message:

Allowed Emails
By default, any email address can send attachments to your application. To restrict access:
- Navigate to Inbox Settings > Allowed Emails.
- Add the specific email addresses you want to allow.
Only emails on this list will be able to send attachments.
Updated 22 days ago
