Uploading Data via Email
Initial Setup
To set up an inbox:
- Open any project and navigate to Project Settings > General Settings > Email Inbox.
- Click Create Inbox.
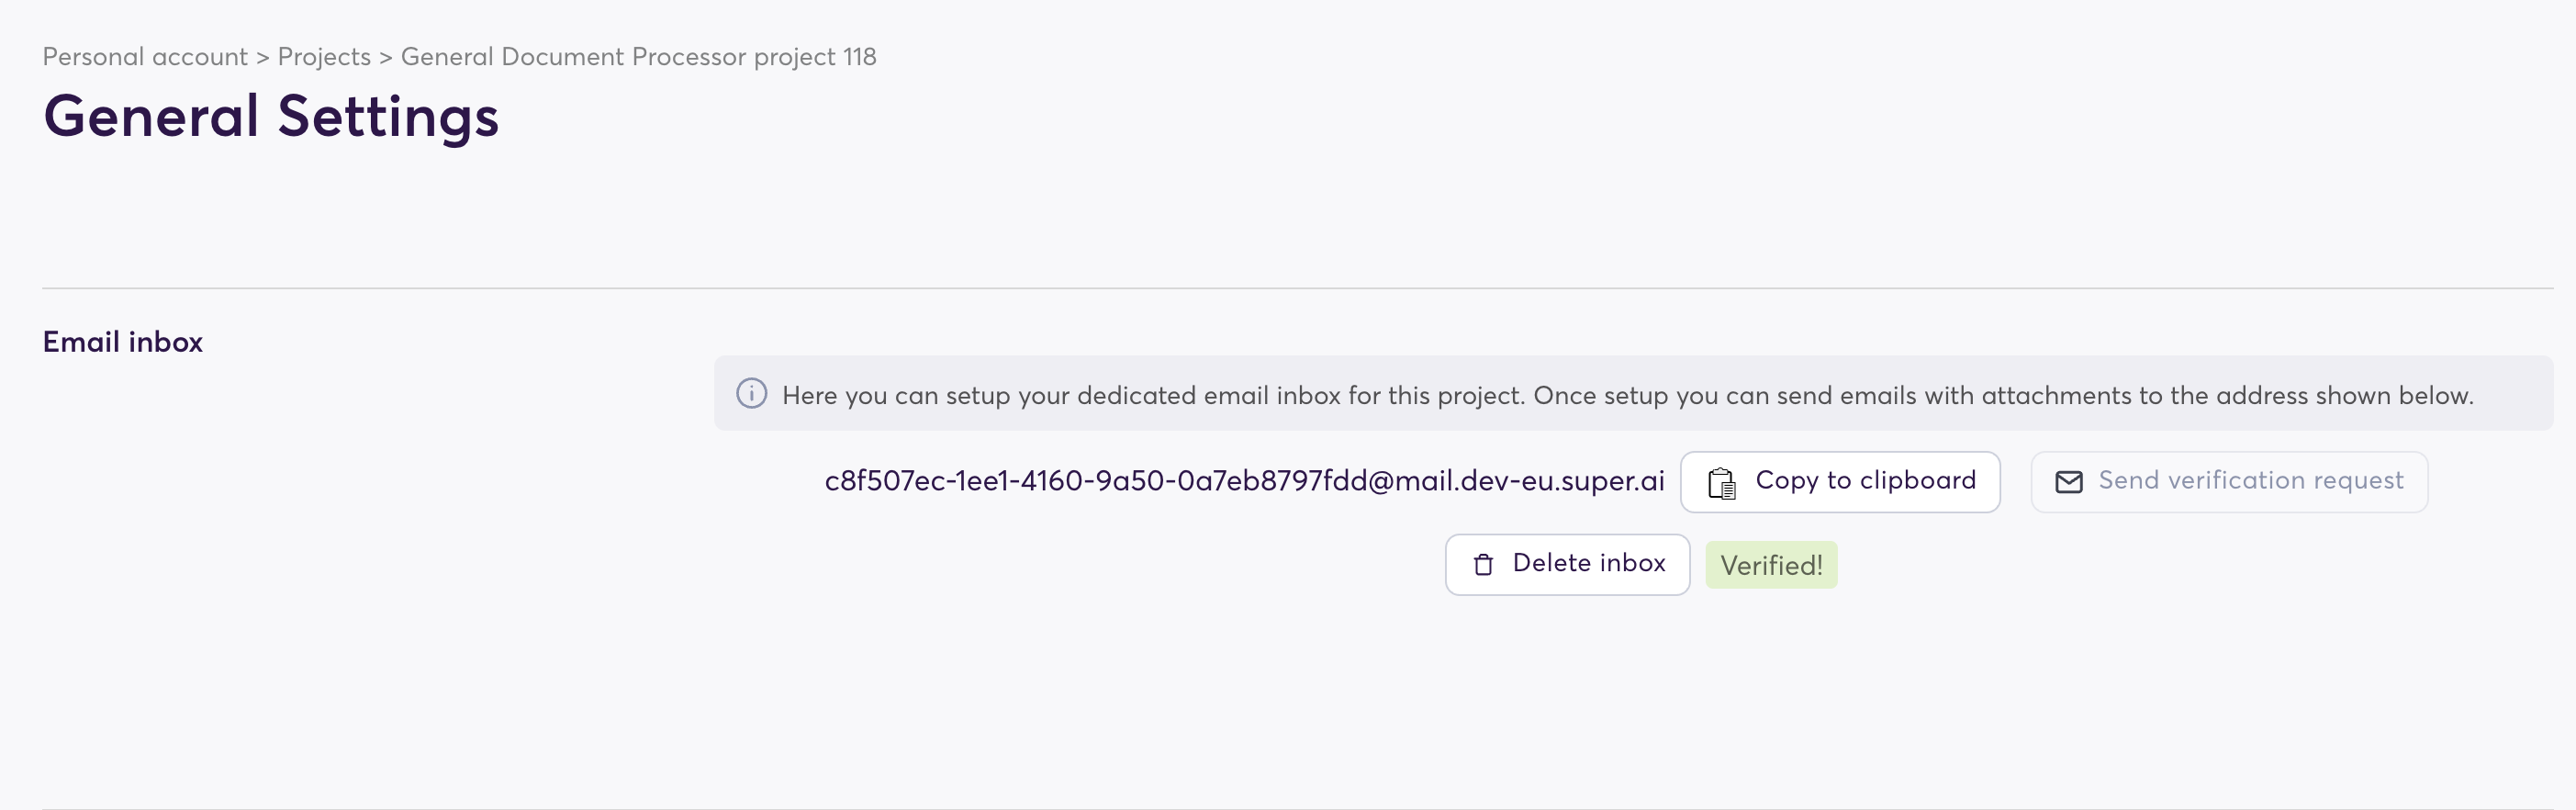
This will generate a unique email address for your application. You can send emails with attachments to this address, and they will appear as jobs in the work queue.
Inbox Verification
To verify the inbox:
- Click the Send Verification Request button.
- Wait a few seconds, as the setup may take some time. If the inbox doesn’t appear verified immediately, wait and try again.
Once verified, you can start sending emails to the generated email address. Any valid attachments will be processed automatically.
What to Extract
You can configure what the system should extract from incoming emails:
- Only attachments (default)
- Only the email body
- Both email body and attachments
Go to Email inbox > What To Process to choose what you want to extract.
Each option will create 1 job per category, meaning the following:
- Only attachments > each individual attachment will create an individual job (2 attachments == 2 jobs)
- Only the email body > the email body will be converted to pdf and uploaded to super.AI
- Both email body and attachments > the email body will be converted to pdf and uploaded to super.AI and each individual attachment will create an individual job (email body == 1 job, 2 attachments == 2 jobs)

Accepted Attachments
Currently supported file types:
- PDFs (maximum 100 pages)
- Images (PNG, JPEG, JPG)
File Sizes:
- Minimum File Size: 500KB
- Maximum File Size: 100MB
Confirmation Message
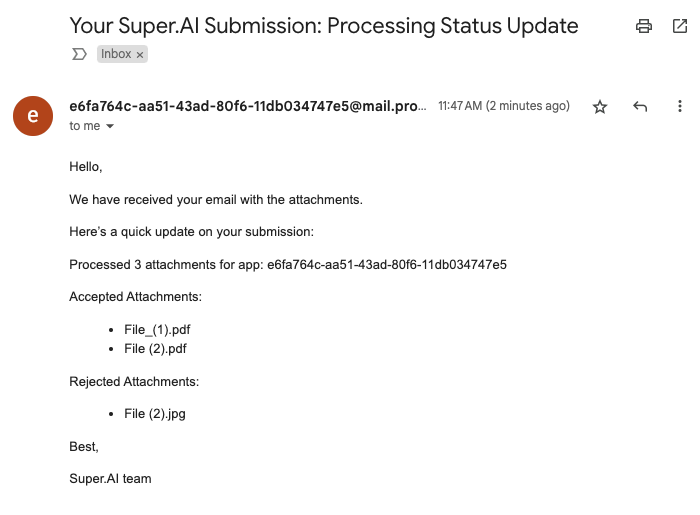
Every email sent to the system receives an automatic confirmation message, which includes:
- The number of attachments received.
- A summary of accepted and rejected attachments.
Here’s an example confirmation message:
Allowed Emails
By default, any email address can send attachments to your application. To restrict access:
- Navigate to Inbox Settings > Allowed Emails.
- Add the specific email addresses you want to allow.
Only emails on this list will be able to send attachments.
Advanced Settings: Job Metadata Tags
You can add metadata to jobs created from incoming emails. This helps in tracking and correlating jobs that originate from the same email.
Options:
- No Metadata (default): Metadata is not added.
- Random ID: Metadata contains a random ID to all jobs that were resulting from a given email submission. For example, if you your application only extracts attachments, and your email contains 4 attachments, each of the 4 jobs will be marked using the same random ID.
- Sender + Email ID: Adds a tag like [email protected]<EMAILID> for traceability. This option is ideal if you want to track which jobs were generated from a specific email. You can find your original email by searching for: rfc822msgid:<EMAIL_ID> in your email search bar.

Updated 10 months ago