Getting started with image instance segmentation
7-day free trialThe image instance segmentation Data Program comes with a 7-day free trial. Sign up for an account and we will process any data points you submit over the next week for free.
This guide helps you to set up your first image instance segmentation project. We're going to run through the process of choosing the project type before customizing it to your needs and feeding in your first data points. We'll do this through the following steps:
- Choose your project type
- Create an account
- Choose who labels your data
- Choose a blank or sample project
- Design your project
- Review your results
- Next steps
1. Choose your project type
Navigate to the image instance segmentation page in the super.AI store (or type ‘image instance segmentation’ into the super.AI store search bar and click on the appropriate search result. On the project type page, click Try it out.
2. Create an account
Enter your email and password to create an account. This begins your 7-day free trial.
3. Choose who labels your data
You can label data yourself and invite others to your project to help label or you can use super.AI's in-house labelers.
Click super.AI's human labelers.
4. Choose a blank or sample project
You have the option to start with a blank project or use an autonomous driving example project.
For this getting started guide, you will use the example project, which comes with a dataset and prefilled instructions and object classes, as it lets you test drive the platform and see immediate results.
Click Autonomous driving to continue.
5. Design your project
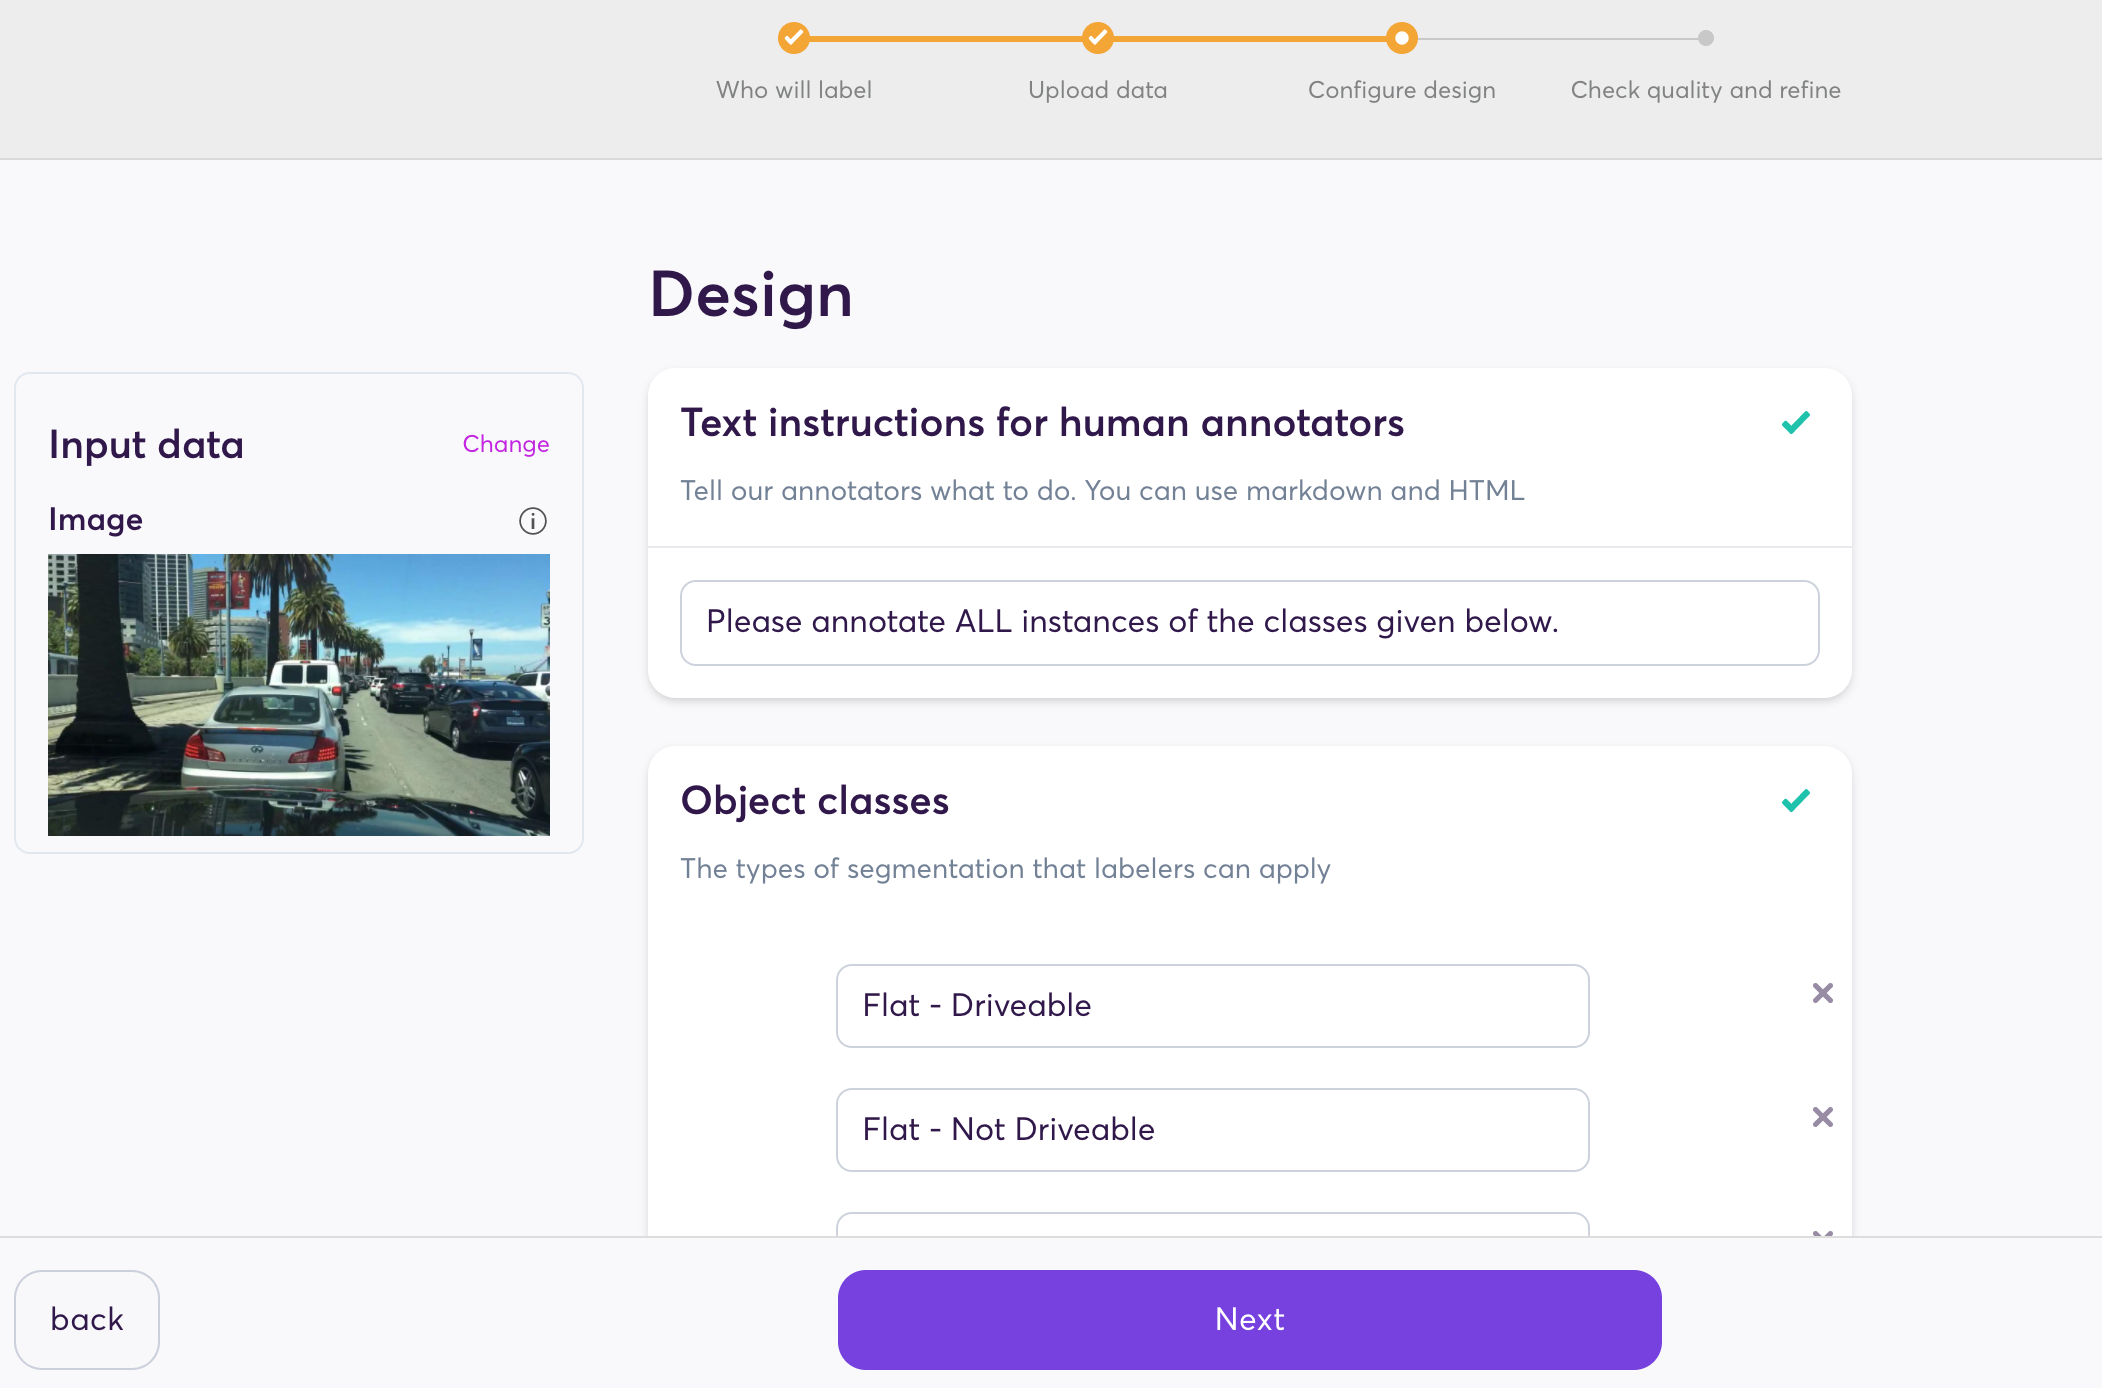
The Design screen is where you can customize your project. For image instance segmentation, there are two settings:
- Text instructions for our human annotators
- These are essential to accurate task completion. Whoever works on labeling your data relies on these instructions to understand how to carry out your labeling tasks.
- Object classes
- These are the options (classes) labelers have to choose from when segmenting your images
You can take a look over the pre-filled instructions and classes and adjust them if you want. When you're ready, click Next .

An image of the completed design screen
6. Review your results
Your data is now with our labelers for processing.
While we process your data point, you can click Explore the dashboard while you wait and have a look around. Once your image is labeled, you will receive a notification in the dashboard and via email. Once you arrive at the review screen, you can choose whether the labeled output is Correct or Incorrect. If it’s incorrect, you have the option to edit the output yourself or send it for relabeling.
7. Next steps
Follow our How to add data points guide to learn how to submit more data to your project, including bulk uploads.
You’ve already reviewed your first data point by marking it as Correct in step 6. Once more of your data has been processed, you can review those data points, as well. The review process helps our system to more accurately measure your project’s performance and provides you with useful insights into where you can make improvements to your project. See our How to review outputs guide to learn how to review data points and filter data points for review within the dashboard.
Updated 3 months ago
