Getting started with named entity recognition (dialogue)
7-day free trialThe named entity recognition (dialogue) Data Program comes with a 7-day free trial. Sign up for an account and we will process any data points you submit over the next week for free.
This guide helps you to set up your first named entity recognition (dialogue) project. We're going to run through the process of choosing the project type before customizing it to your needs and feeding in your first data points. We'll do this through the following steps:
- Choose your project type
- Create an account
- Choose who labels your data
- Choose a blank or sample project
- Design your project
- Review your results
- Next steps
1. Choose your project type
Navigate to the named entity recognition (dialogue) page in the super.AI store (or type named entity recognition into the super.AI store search bar and click on the appropriate search result. On the project type page, click Try it out.
2. Create an account
Enter your email and password to create an account. This begins your 7-day free trial.
3. Choose who labels your data
You can label data yourself and invite others to your project to help label or you can use super.AI's in-house labelers.
Click super.AI's human labelers.
4. Choose a blank or sample project
You have the option to start with a blank project or use an autonomous driving example project.
For this getting started guide, you will use the example project, which comes with a dataset and prefilled instructions and object classes, as it lets you test drive the platform and see immediate results.
Click Restaurant bookings to continue.
5. Design your project
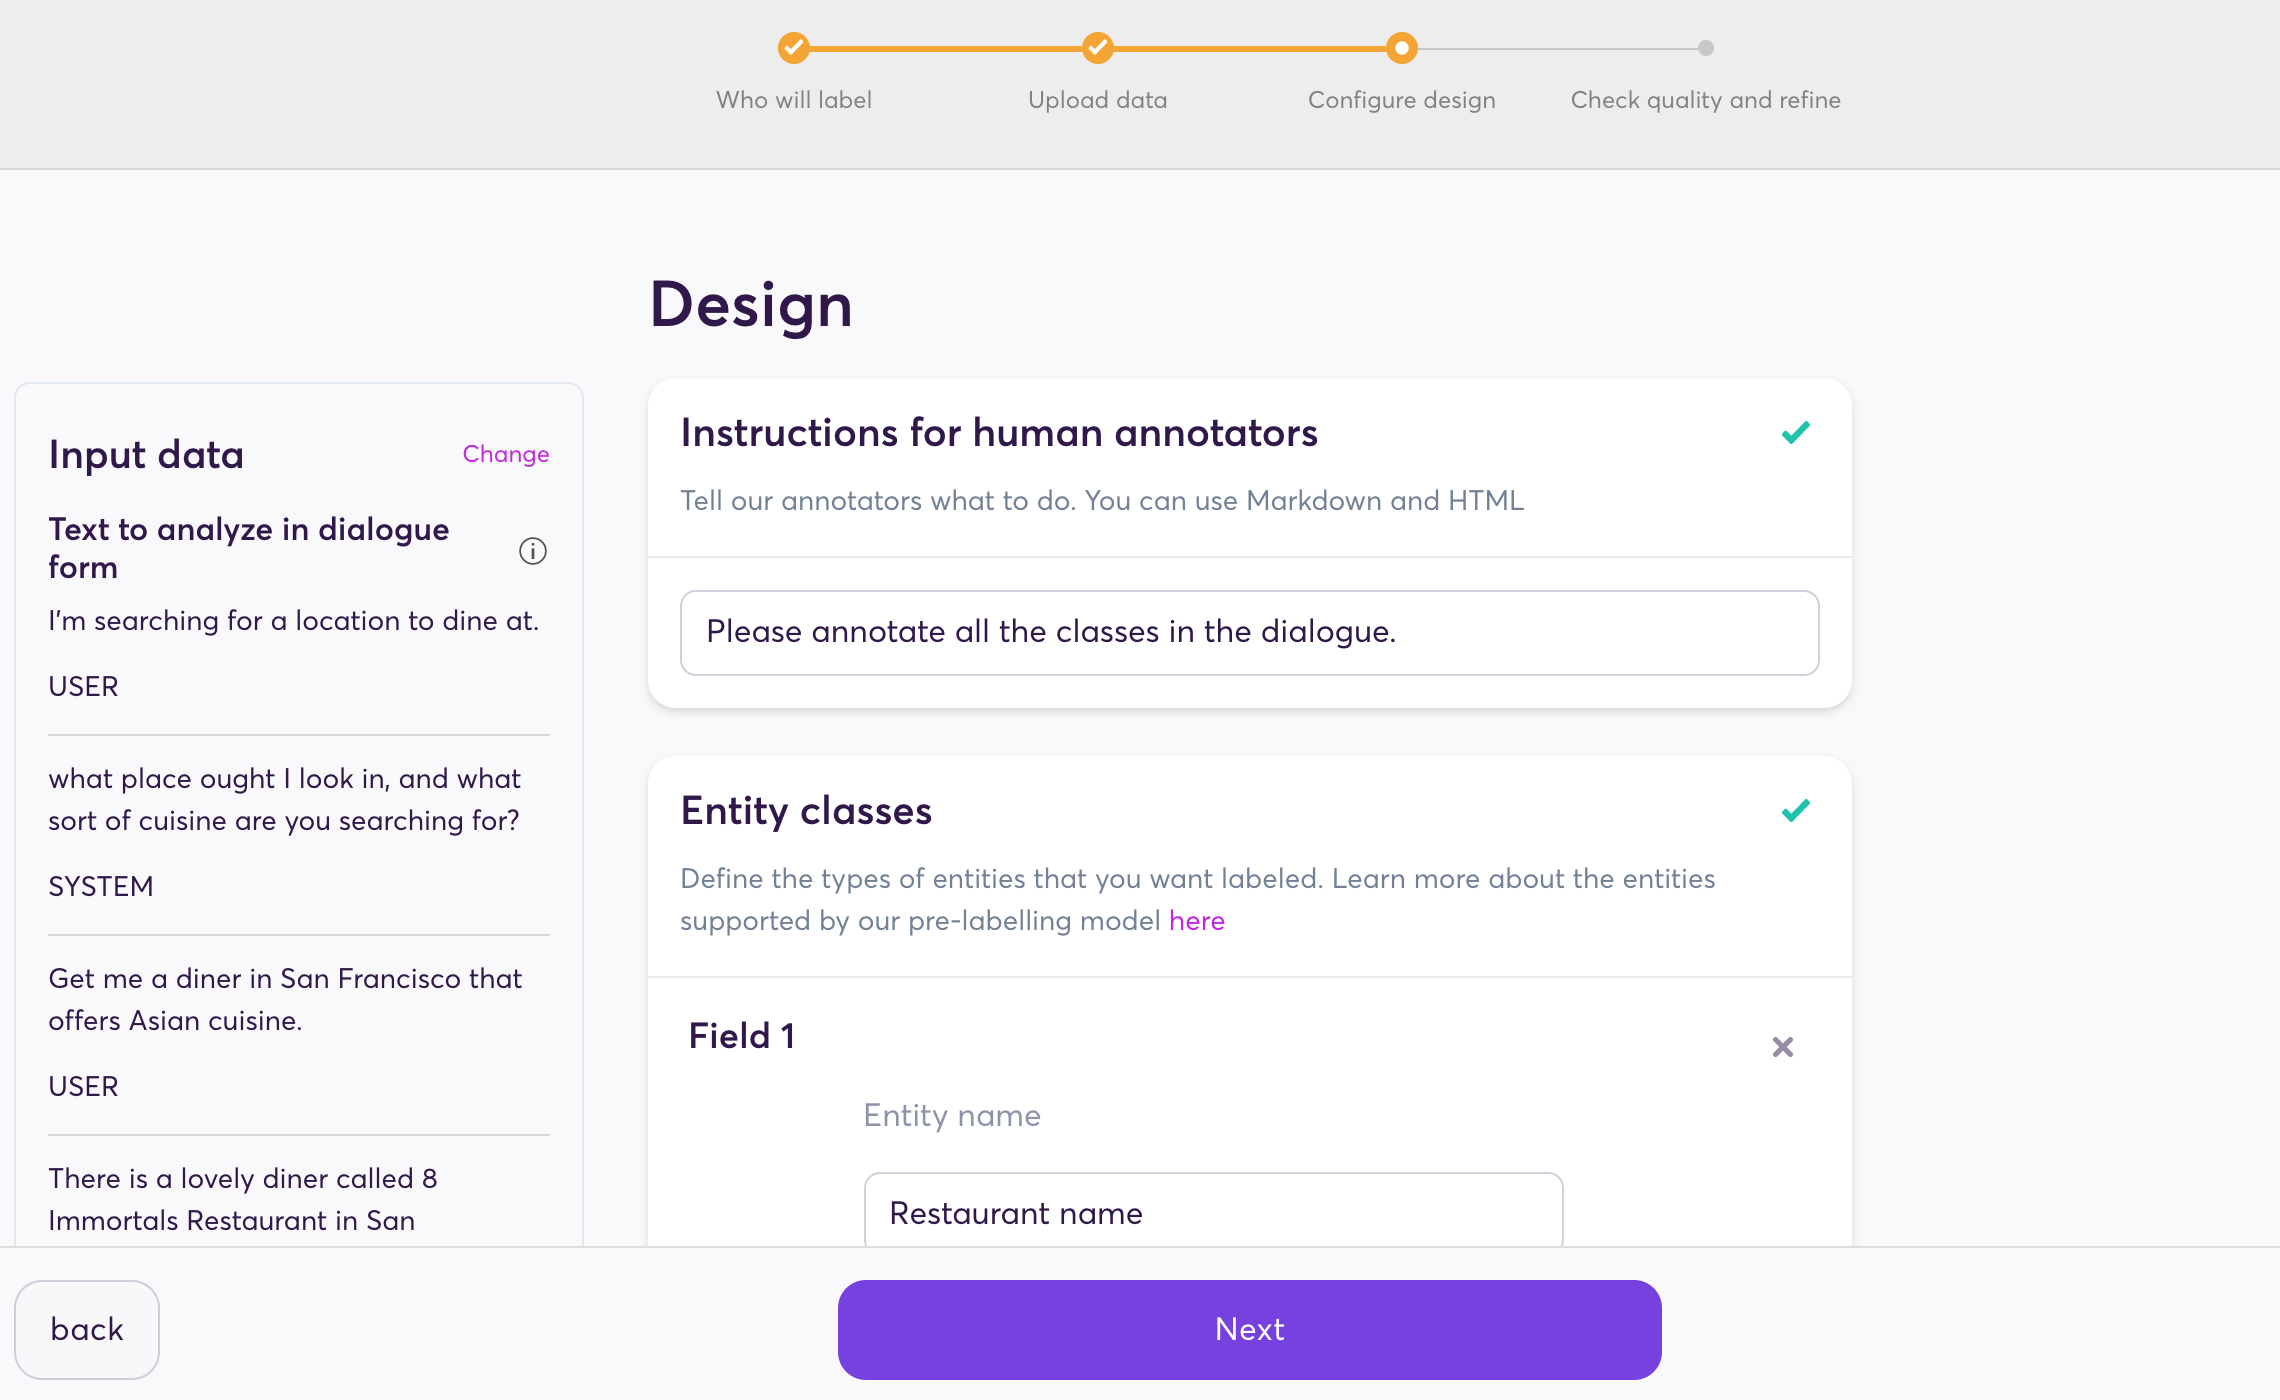
The Design screen is where you can customize your project. For named entity recognition with dialogue, there are five settings:
- Text instructions for human annotators
- These are essential to accurate task completion. Whoever works on labeling your data relies on these instructions to understand how to carry out your labeling tasks.
- Entity classes
- This is where you define the entities that you want labeled in your text
- Parent entities let you create a hierarchy amongst your entities. For example, if you have an
Catentity, it could have a parent entity calledAnimal. - Super.AI offers pre-labeling on some common entities, which means these entities will be labeled by a machine learning model before the task is sent to any human labelers (who can correct any inaccuracies). See our full list of entities available for pre-labeling. You can choose the model class to apply in the Model class your entity maps to field.
- Custom entity recognition
- This lets you define search patterns that will be automatically labeled as an entity of your choosing. You can learn more about this on our Named entity recognition page.
- Parts of speech to exclude
- Here, you can set any parts of speech that you don’t want labeled as entities. This doesn’t apply to parts of speech within entities, only as standalone entities.
- Task granularity
- This allows you to trade off breaking the data into simple tasks that are harder to make mistakes on and minimising time spent labeling. There are two settings for task granularity:
- Entity classes per task defines whether labelers can label just one entity class per labeling task or if they have access to all the entity classes you have defined.
- Utterances per task lets you set the length of the dialogue users will label by limiting it to a certain number of utterances. We will break the input text up into chunks of this size for you.
- This allows you to trade off breaking the data into simple tasks that are harder to make mistakes on and minimising time spent labeling. There are two settings for task granularity:
You can read more detail about all of these settings on our named entity recognition configuration page.

The completed design screen.
You can take a look over the pre-filled instructions and classes and adjust them if you want. When you're ready, click Next .
6. Review your results
Your data is now with our labelers for processing.
While we process your data point, you can click Explore the dashboard while you wait and have a look around. Once your image is labeled, you will receive a notification in the dashboard and via email. Once you arrive at the review screen, you can choose whether the labeled output is Correct or Incorrect.
7. Next steps
Follow our How to add data points guide to learn how to submit more data to your project, including bulk uploads.
You’ve already reviewed your first data point by marking it as Correct in step 6. Once more of your data has been processed, you can review those data points, as well. The review process helps our system to more accurately measure your project’s performance and provides you with useful insights into where you can make improvements to your project. See our How to review outputs guide to learn how to review data points and filter data points for review within the dashboard.
Updated 4 months ago
